When to take measurements:
‘Before’ requirements must be conducted on the day before or on the first day of the Challenge. ‘After’ requirements must be conducted on the last day of the Challenge.
Before/after photos:
Challengers will need to have before and after photos taken, usually by a friend or family member.
Challenge photos must:
- Show the member in swimwear or underwear (no shorts, leggings, tops, hats, etc.);
- Be in front of a white wall;
- Have bright lighting, no shadowing (but do not stand under lights);
- Be taken at eye level;
- Show members standing upright, looking at the camera with good posture and arms at their sides with feet shoulder-width apart. Members should relax and be natural and;
- Avoid posing, do not lift arms, do not flex or suck in the stomach.
It is important to note that:
- Selfies will not be accepted; and
- Photos should not have any editing, retouching, photoshopping or filters applied.
- Members must provide written approval (via email is sufficient) for images to be shared in the press, social media platforms and F45 global marketing collateral.
Challenge Inclusivity
F45 HQ understands that we have a diverse group of F45’ers around the world participating in the Challenge. We want to ensure everyone feels included, and we acknowledge that the requirements set out for photos may conflict with personal or religious beliefs. As such, we allow the following exceptions to the photo requirements:
- Headscarves, burqas, hijabs or similar
- Fully clothed, including full length (preferably tighter) clothing to show transformation;
- Showing some skin, wearing tight leggings or tight shorts and tops
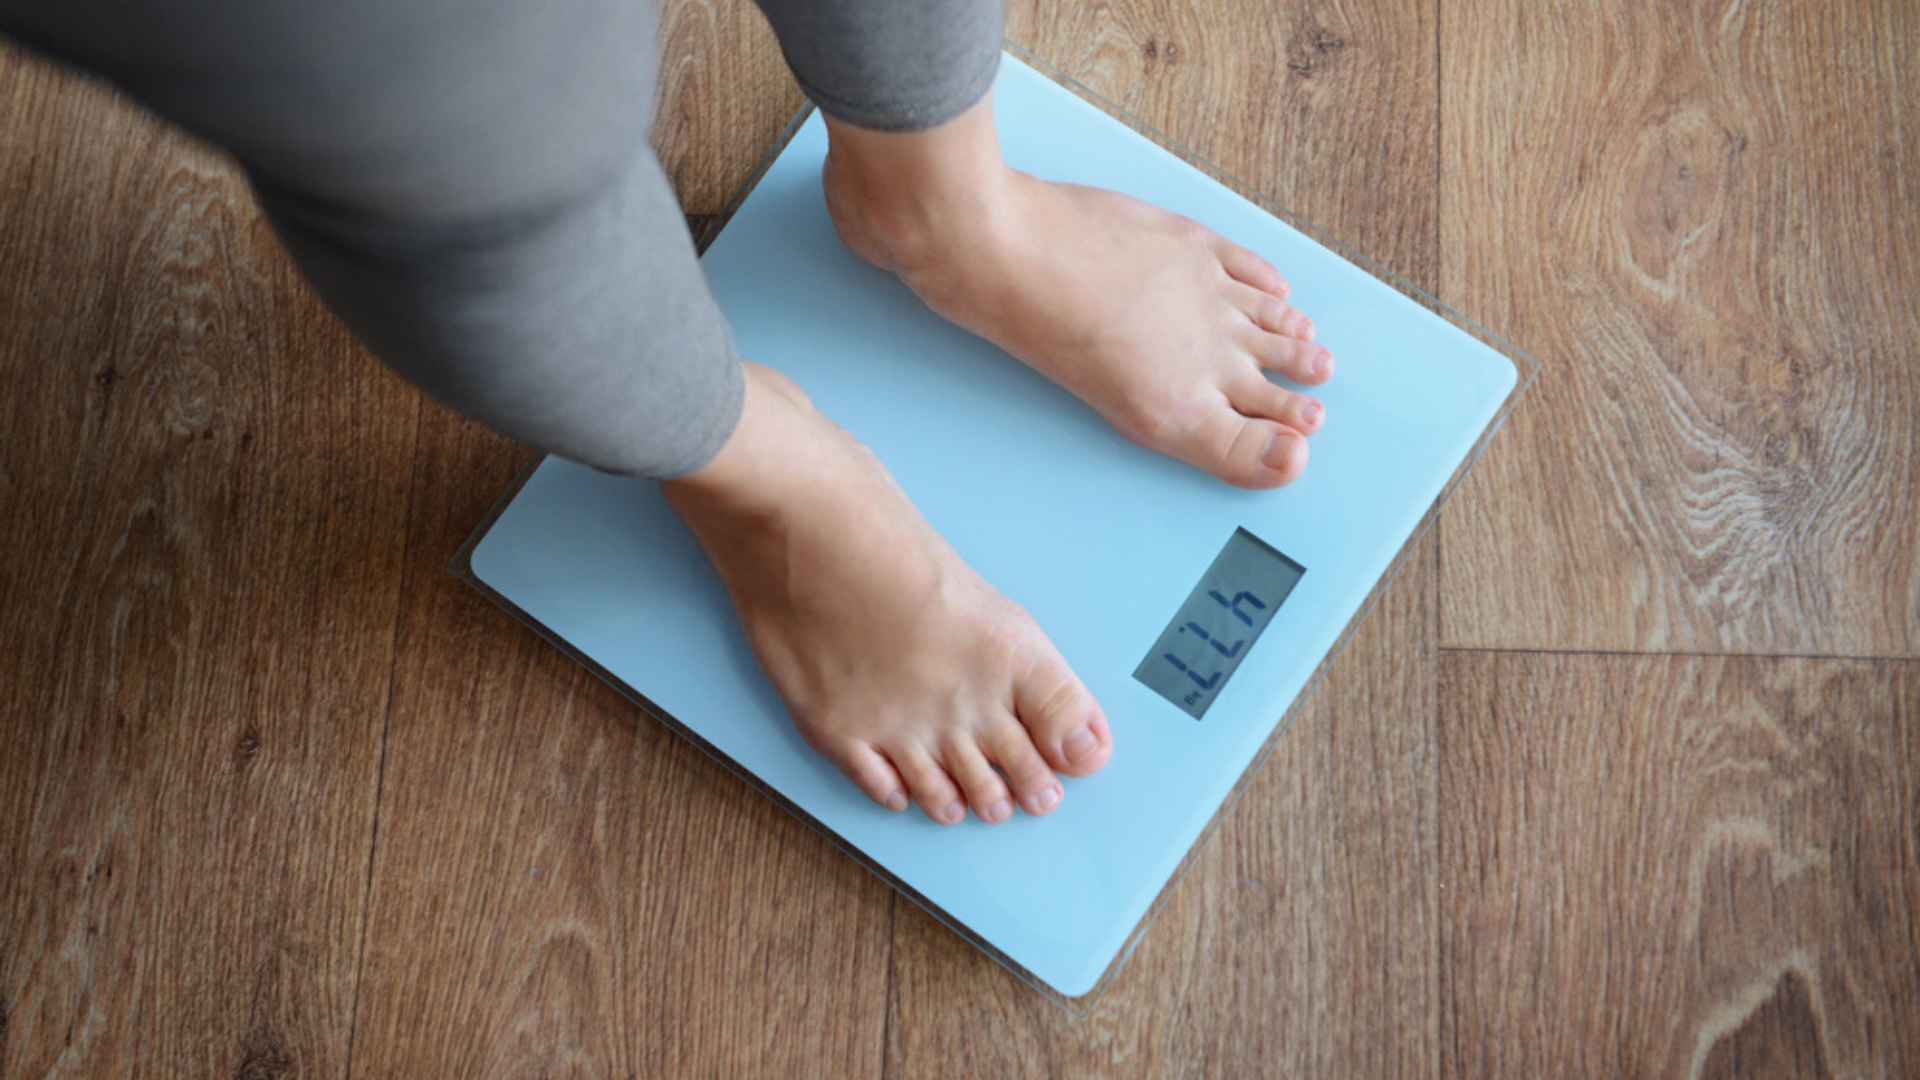
You must measure your body weight via a video verifications weigh-in. Video verification weigh-in instructions:
- Download the TIMESTAMP CAMERA APP on your smartphone, available for Apple and Android users;
- Wear the same outfit you wear for your before and after photos;
- Set up your scale on the floor in front of a full-length mirror;
- Using the Timestamp video function, begin to record your video;
- If you are using a digital scale, calibrate it by tapping the side until it displays 00;
- Stand on the scale, zoom in and weigh yourself;
- Step off the scale and lift the camera to the mirror, showing your full body, one side, and the other side (similar to the before and after photos), and;
- Finally, step back on the scale and show your weight for a second time.
Before/after weight
To obtain an accurate measure, weight should be taken first thing in the morning, prior to eating, after waking up and emptying the bladder. It’s best to use a digital scale if possible.
For example: If on day 1 you weigh in at 8:00am, day 45 should also be done at 8:00am.
Measurements:
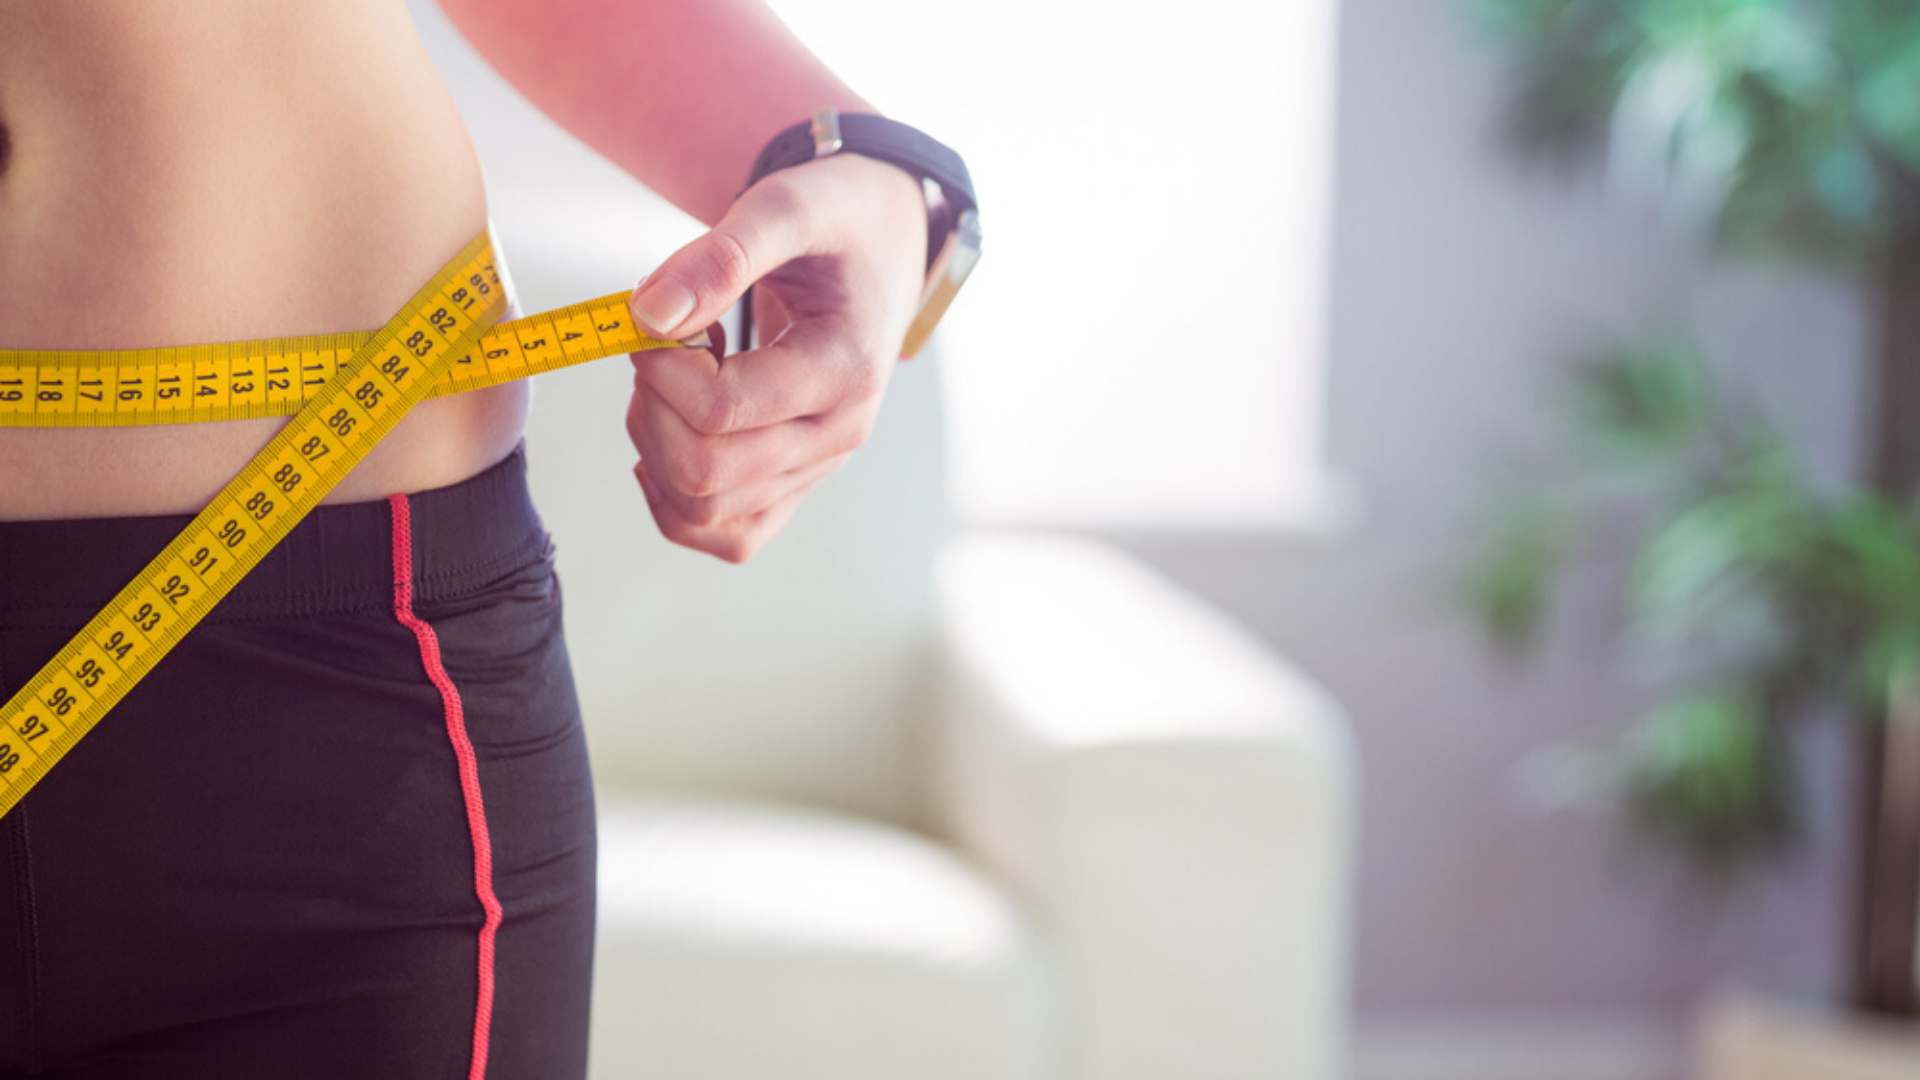
If possible, we recommend having a partner take measurements in order to obtain the most accurate measure. Circumference measurements should be taken directly on the skin under clothing. Always ensure the tape measure is held snug but not too tight around the body. It’s best to wear shorts and a tank while taking measurements. Measurements should be taken to the nearest 0.1 centimeters or 0.1 inches.
CHEST: To obtain an accurate point of measure, place one end of the tape measure at the fullest part of the bust. Wrap tape measures around the body underneath the armpits and around the shoulder blades back to the origin at the fullest part of the bust.
WAIST: To obtain an accurate point of measure, palpate the hip area to locate the right ilium of the pelvis (the bony process of the hip). Just above this bony process is your natural waistline. (Tip: If you bend to the side, the crease that forms is your natural waistline).
RIGHT AND LEFT TRICEP: Obtain an accurate point of measure, arm should be relaxed hanging freely to the side. Measuring tape is placed from the point of your elbow to the square bony process of your shoulder (the acromion process). Find the midway point, then measure the circumference around the arm. The tape rests on the skin surface but is not pulled tight enough to compress the skin. Circumference is recorded to the nearest 0.1 cm.
HIPS: To obtain an accurate measure, stand upright with feet together. A hip measurement is taken at the widest part of your hips (around the widest part of your glutes).
RIGHT AND LEFT THIGH: To obtain an accurate measure, start in a seated position in a chair. Sit up straight in a chair and locate the midpoint between your hip crease and knee cap (this should be the fullest part of your thigh). Wrap the tape measure around the thigh from front to back and be sure not to lower the tape measure towards the knee as this will affect the accuracy of the measure.
Instructions for measurements are based off of the CDC ANTHROPOMETRIC GUIDELINES
Why should I measure more than weighing myself?
Taking full-body measurements is key to accurately assess individual changes to body composition. It’s important to note that you may lose inches before you lose weight. This is a sign that you’re losing fat while gaining muscle. Developing lean muscle in the initial stages of training will boost metabolism and improve the rate at which fat is lost overall.
We will be adding a new feature starting next week that will allow you to keep track of your measurements in the Challenge Dashboard
How often do I weigh in and take measurements?
In order to track your progress and stay motivated over the entire 45 days, we recommend the following:
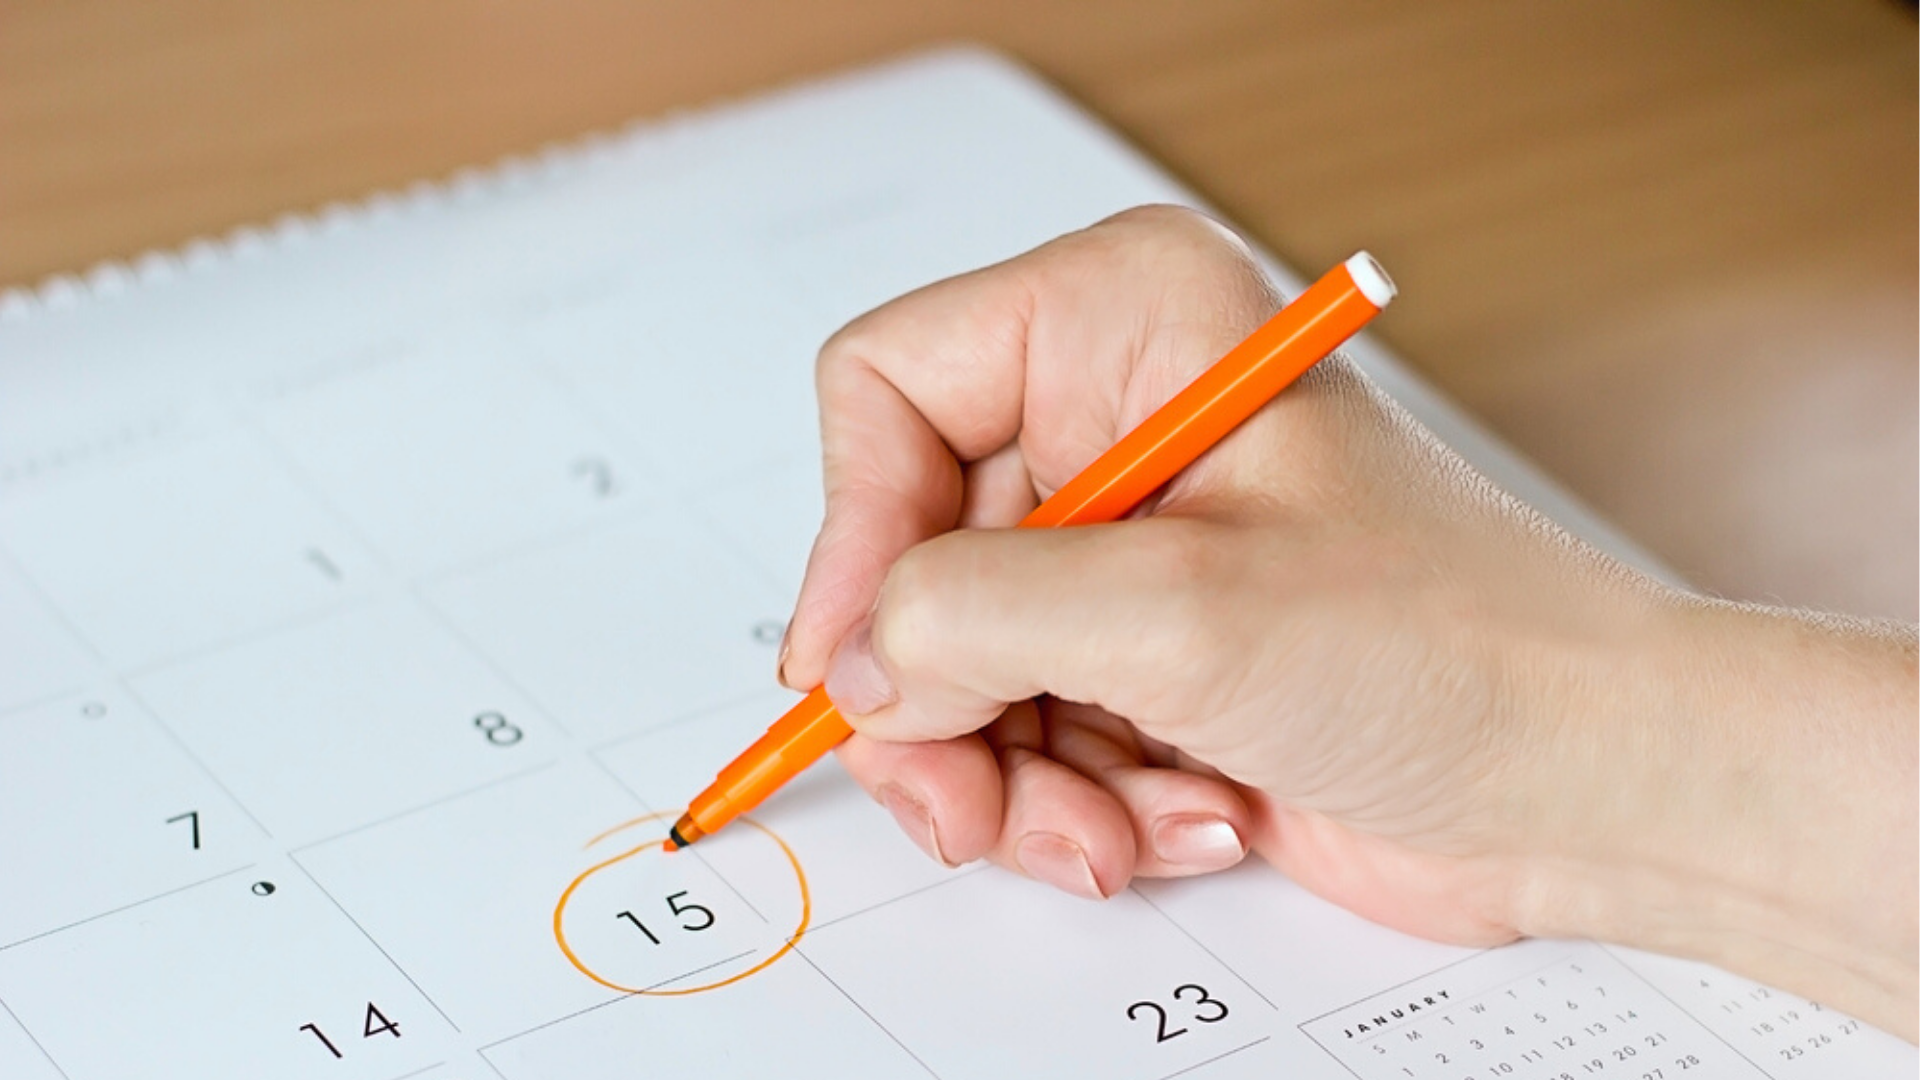
- Weigh in every 14 days (day 1, day 14, day 28, day 45)
- Take measurements on day 1 and day 45
Weight should be taken every 14 days—at the same time in the morning, with minimal to no clothing each time. It’s best to use a digital scale if possible.
We hope you find this guidance useful as we look to alternative methods for progress tracking besides body scans. Be sure to also check out the Getting Started blog article, which provides an overview for everything you need to know about C26. We look forward to having you join us!


